Tracking Installation Guide
- 10 May 2023
- 1 Minute to read
- Contributors


- Print
- DarkLight
Tracking Installation Guide
- Updated on 10 May 2023
- 1 Minute to read
- Contributors
- Print
- DarkLight
Article summary
Did you find this summary helpful?
Thank you for your feedback!
- Choose your preferred tracking domain example: t.yourdomain.com and create an A record in your DNS records that point your tracking URL to the following IP address:34.149.177.175
- Send Tadpull contact your trackingdomain and wait for us to confirm that your tracking domain has been properly added to our system.
- Navigate to pond.tadpull.com/integrations and copy the organization Shortcode by navigating to Organization in the left sidebar while in the correct organization.
- Follow the instructions for the platform you are putting the tracking script on. Remember to replace {{Shortcode}} with the value you copied in the first step.
Custom
Pageview
Add this script to all pages on your site.
<script src="https://static.tadpull.com/tadpull.js?orgId={{Shortcode}}&system=CUSTOM"></script>
<script>tadpull.pageView();</script>
Conversion
Add these scripts on your checkout confirmation page. Ensure {{email}}, {{orderId}}, and {{orderAmount}} are replaced with the appropriate order values.
<script src="https://static.tadpull.com/tadpull.js?orgId={{Shortcode}}&system=CUSTOM"></script>
<script>tadpull.identify({{email}},{{orderId}},{{orderAmount}});</script>
BigCommerce
Ensure you have authorized with BigCommerce successfully by navigating to Integrations in the left sidebar and selecting the Ecommerce tab. If you have authorized successfully check the Include Tracking Script checkbox and click save. We will insert the appropriate scripts on your BigCommerce store.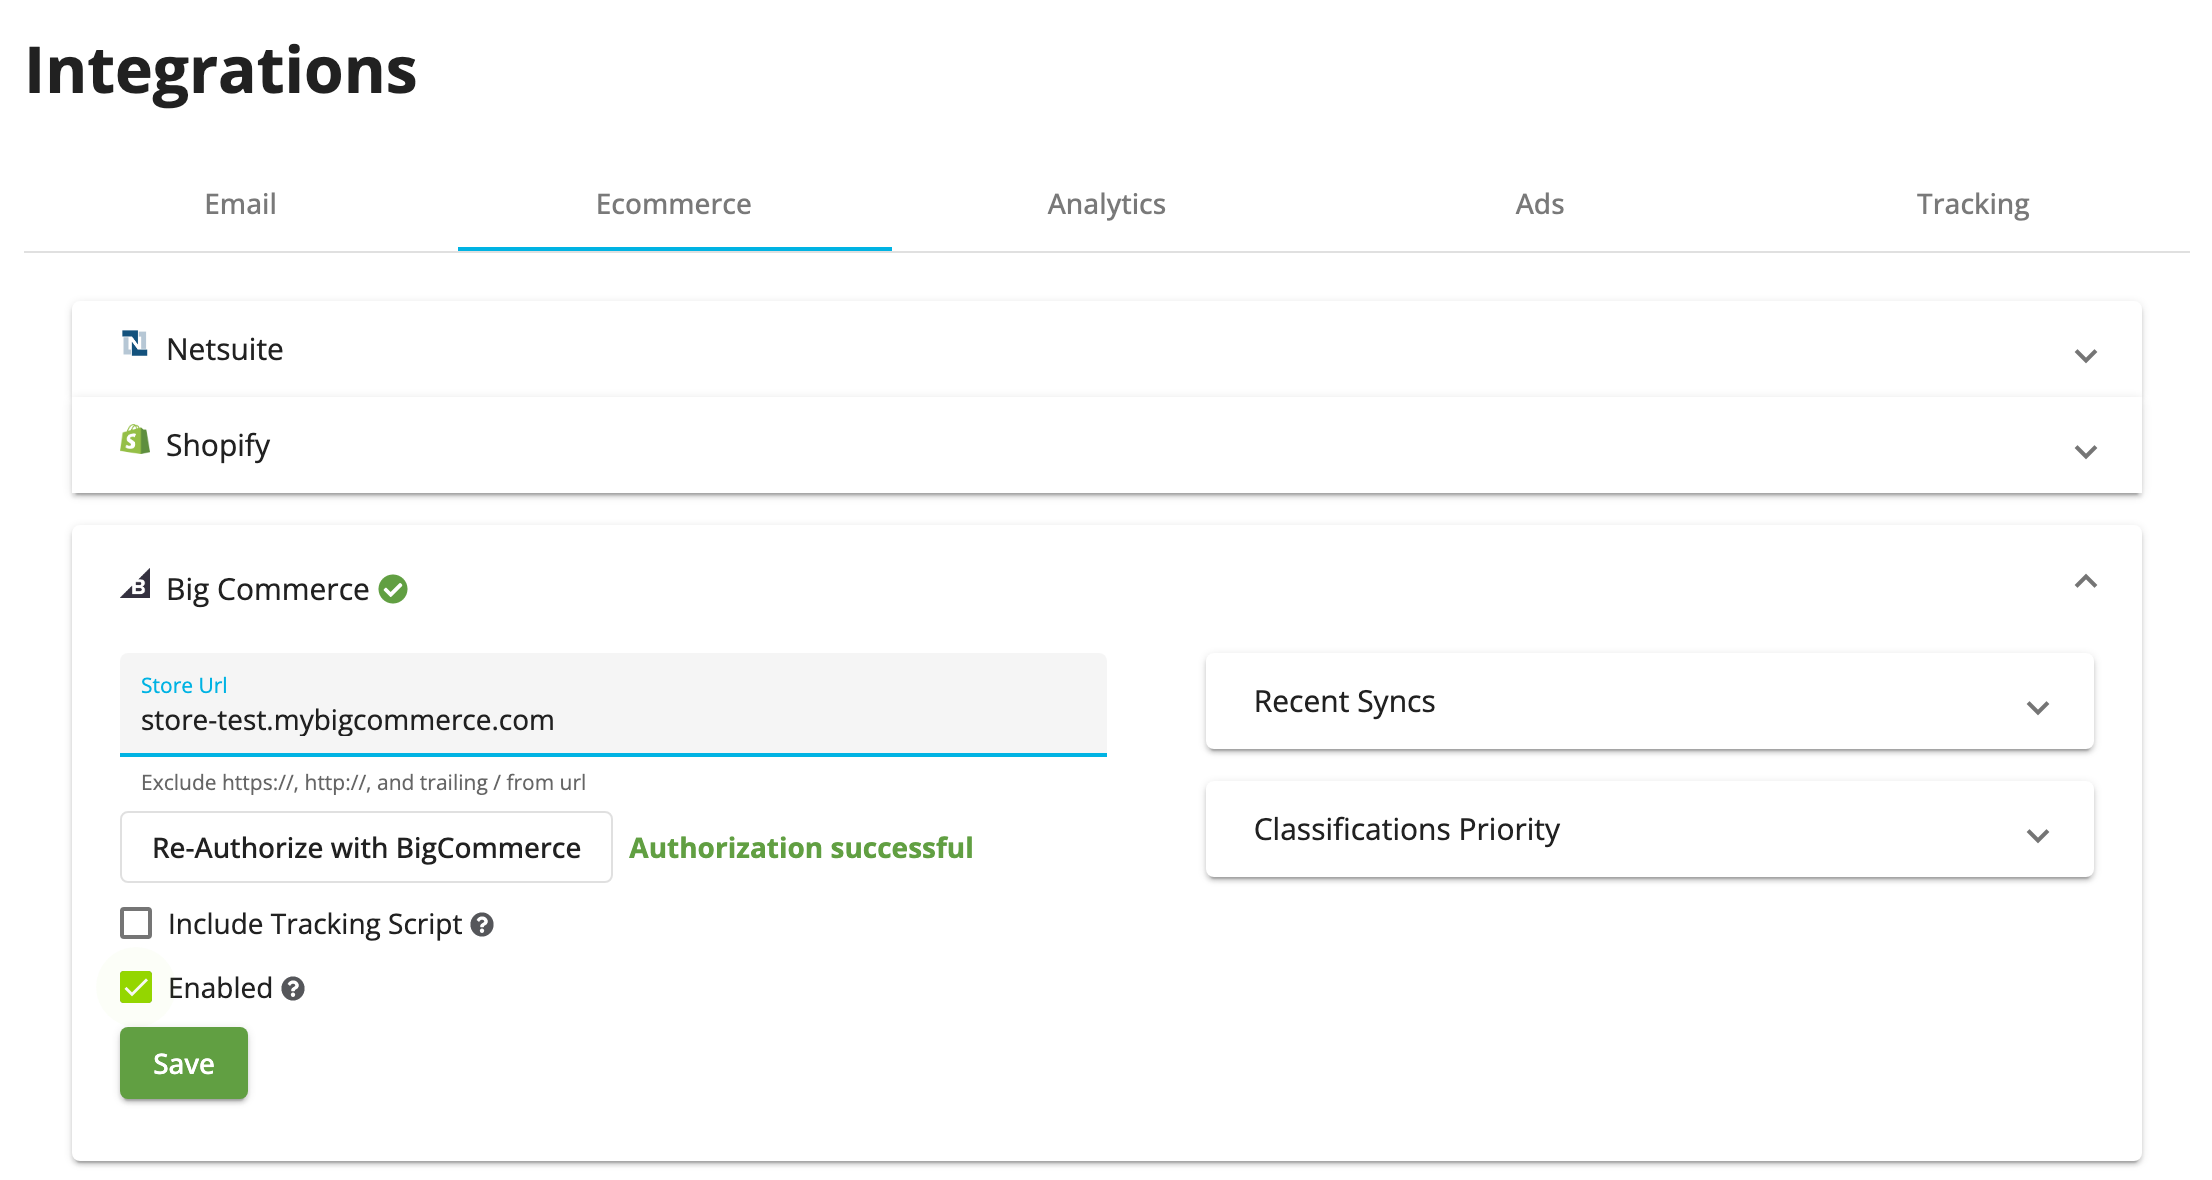
Shopify
Pageview
We recommend adding this script in your theme.liquid file as it will ensure the script loads quickly on every page.
<script src="https://static.tadpull.com/tadpull.js?orgId={{Shortcode}}&system=SHOPIFY"></script>
<script>tadpull.pageView();</script>
Conversion
Add this script in your shop's additional checkout scripts section.
<script src="https://static.tadpull.com/tadpull.js?orgId={{Shortcode}}&system=SHOPIFY"></script>
<script>
//required page view call
tadpull.pageView();
//required call to identify user on conversion
{% if first_time_accessed %}
tadpull.identify();
{% endif %}
</script>
Google Tag Manager
Download the Tadpull Tracker V2 template here and import it into your GTM container by browsing to your GTM container and going to Templates -> New and clicking on the 3 dots in the top right corner to import.
Pageview
Create a new tag using theTadpull Tracker V2 template. Paste in the organization Shortcode, select Page View as the Event Type, and select the platform your site is hosted on (select Custom if your platform is not an option).
Conversion
Create a new tag using theTadpull Tracker V2 template. Paste in the organization Shortcode, select Conversion as the Event Type, and select the platform your site is hosted on (select Custom if your platform is not an option). Set the orderId and orderAmount values to variables that track the respective values. If the platform you're using is Shopify you do not need to add variables for orderId or orderAmount the tracker will grab these values automatically. Set the trigger to your conversion trigger that fires on the order confirmation page.